By ... Lori AKA Dashery!
Patina adds character to jewelry. It can be used to make a piece look antique
or to bring out the details in a more modern creation. Some patinas come from
adding a substance like wax or enamel to metal. Others are reactions between the
metal and a chemical, which is called oxidation.
Today we will look specifically at Liver of Sulfur. Liver of Sulfur comes in
two forms - chunks like shown or a gel. Both literally stink!
Sulfur is what makes
rotten eggs stink so even if you've
never heard of Liver of Sulfur, you know
what it smells like. Phew!
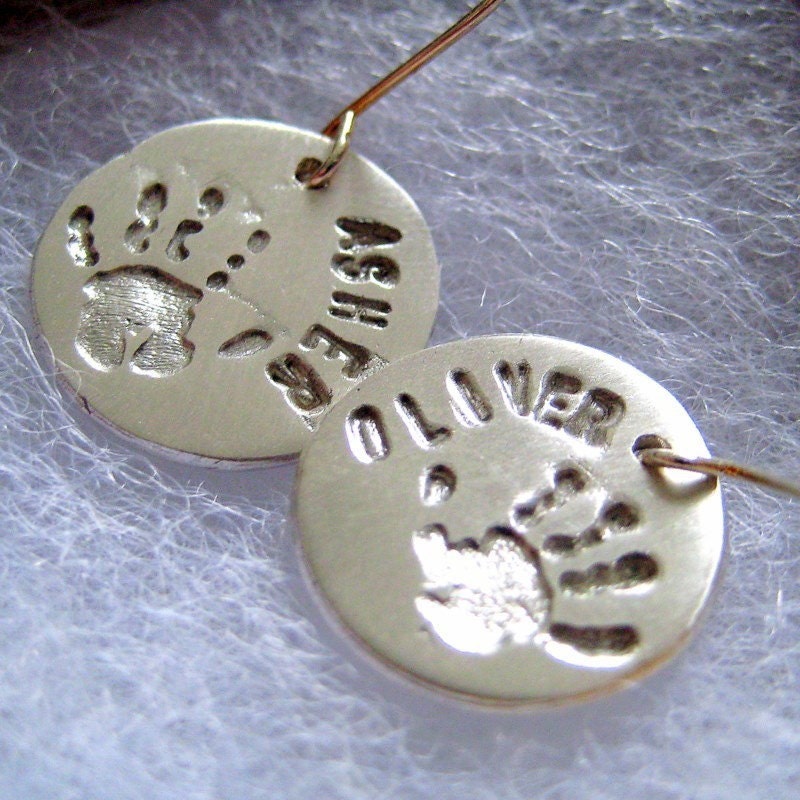
I'm using stamped copper discs for this demonstration.
Liver of Sulfur works equally well on sterling silver or any other copper alloy - brass also looks great with this patina.
The first step in any method of oxidation is cleaning the metal.
I use powdered
Bar Keepers Friend for this step ever since a fellow JET suggested it. It works
great as does pickle or any degreasing cleanser.
Dry with a paper towel or soft
cloth.
You can see the difference right away. This step does remove some of the shine from the metal but leaves it completely clean and free of grease, which could interfere with the even application of the patina.
To color your metal, you'll need a few chunks of Liver of Sulfur; a lidded glass or microwaveable
container; a plastic spoon; and some very, very hot water that isn't boiling.
Drop the chunks into the water and stir. In about a minute you'll have a
solution ready for dunking.
You may have noticed that I didn't give you measurements. Well, here is the
art part of this chemistry- sometimes you need more or less of the chunks.
In
general, you'll need more Liver of Sulfur the older the chunks get because they
lose potency when they are exposed to air, light, or heat.
Keep the chunk form sealed
in its container and a zipper plastic bag someplace dark. The gel is a much more
stable form; but that's not what I have.
Next, dunk it like a homemade cookie. What I mean by that is that it doesn't
need to soak- you just need to put it in and take it out. Nothing fancy.
Rinse
in cool water and dry with a paper towel.
If you want a darker color you can
repeat but don't be surprised when some residue comes off when you dry- that's
why you want to use a paper towel.
Another way to make it darker is to put the
metal in the freezer for a few minutes before dunking. The change in temperature
seems to give it a deeper color.
You'll see an immediate change in the color of your metal!
The photo at the bottom of this group shows the piece after it has been rinsed and dried. This fabulous color takes a long time to occur naturally but can be applied in just a few minutes.
When you are done, put the lid back on your container of Liver of Sulfur
solution and store someplace out of the light. You can reuse the solution by
microwaving it until it's hot again. Stir it every 15 seconds or so checking to
see if it's hot enough. Make sure it doesn't boil!
Let me say that again- make
sure it DOESN'T BOIL!
If you let it boil it will release a gas you shouldn't
breathe-open every window and door as quickly as possible. Or just make new
solution every time you need it.
 |
Sand and Polish!
Finishing supplies- safety glasses,
sandpapers, polishing
papers, wax |
Now to finishing!
When you use the patina to bring out recessed details,
like the stars and moon
stamping in my example.
You want contrast, so you'll want to sand away the high
surface and leave the patina in the recessed areas.
I also used polishing papers
to add extra shine!
This step brings back the shiny luster of the piece -
while making the stamped design really stand out.
Safety glasses are a must for this step, and a dust mask is also a good idea. Some of the surface patina you remove during the polishing process comes off as a very fine dust and it really doesn't belong in your lungs. Safety first ...
Look at that beautiful shine!
 |
| Tumble it! |
Next you can put your piece in a tumbler with stainless steel shot, either in
addition to sanding or in place of it. You'll get a more subdued finish if you skip
the sanding step above.
Tumbling with shot leaves a nice warm brown color on the unsanded piece and
leaves a nice shiny copper color on the sanded piece.
Actually, you get the warm
copper color if you forget the tumbler is on in the garage and leave it going
for a few more hours than you meant to!
Tumbling makes your metal harder and more durable ... overdoing it can't hurt!
TIP: You'll need to clean your shot if you
plan on using it for items that aren't patinaed. Bar Keepers Secret works really
well to scrub the shot.
 |
| Wax it! |
To keep your patina looking new- or maybe that should be old- you need to seal
your work.
I use Renaissance conservation wax. You cover the piece with a little
wax, wait a minute, then buff it with a soft cloth.
This extra step will keep your patina the way you wanted it - so it won't darken over time.
The stamped design will remain darkened, while the copper takes on a fantastic glowing, deep shine. Beautiful!
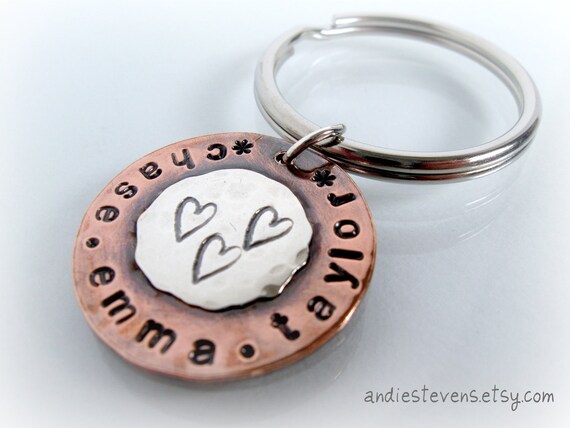
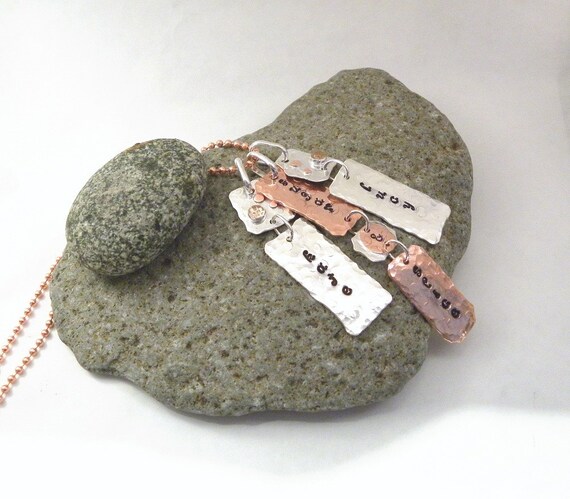
Add a bail or jump ring and a cord and you have a completed necklace!
The disc on top was not sanded - just tumbled.
The disc below was sanded then tumbled.
The results depend on the steps you take!
Thanks for reading! More Patina Techniques coming soon ...
-Lori from
Dashery
Jewelry on Etsy and
http://dashery.com