Friday, July 8, 2011

Jet of the Day - Susan of cserpentDesigns


A little about design style...

Greetings fellow bead lovers! Happy Friday from Susan, creator of cserpentDesigns jewelry. I haven't met a gemstone yet that I didn't "have" to add to my bead collection! But I also love one-of-a-kind, handmade glass beads, metals of all sorts, and even many fibers and yarns! The problem I have in loving such a variety of beads, metals, yarns is finding a way to include it all in my jewelry designs. The challenge in designing with such a wide array of base elements is that it is hard to create a recognizable design style. I've read many articles about design style. Here is one that talks about some of the tradeoffs between embracing variety versus focusing on an identifiable "style".
 www.home-jewelry-business-success-tips.com/jewelry-style.html

I have to say that cserpentDesigns embraces variety. I don't know if that is the smart choice from a business perspective since my jewelry style is ALL over the map. In my shop you can find a basic, wire-wrapped, gemstone necklace like this:

Ametrine and Freshwater Pearl Stack and Sterling silver necklace

or, a pair of metalsmithed earrings:  (hammering and fire are soooo fun!)

Hammered copper and sterling silver earrings - Slightly Skewed

and, even a somewhat free-form, very time consuming woven bracelet:

Peyote beadweave, Pearls and Shell Bracelet - Ocean Ruffles

Hmm??? Can we say Susan at cserpentDesigns has a short attention span?? LOL! Actually I just get bored if I keep doing the same thing over and over again and I love to try soooo many different things. For now my recognizable style is variety. I have even embraced designing with brass and rhinestones when a friend asked me to create earrings to match her Sorrelli necklace. I had no rhinestones and no brass settings but I do love a challenge so I said yes. Here are the finished earrings:

Madonna
Not bad for my first try! And, of course, I now have a LOT of brass fittings and rhinestones so you'll also find rhinestone designs in my shop from time to time.
But, back to the subject at hand ... design style ...

For now I'll continue to embrace variety and see where that takes me. Perhaps as I try other new types of design I'll find one thing that really draws me in. If not then you'll always have MANY types of jewelry to choose from as you wander the aisles at cserpentDesigns
Happy shopping!

susan
----------------------------------------------------------------------

Thursday, July 7, 2011

Jet of the Day - Lucia of Crystal Impressions


I have always been drawn to diamonds, crystals, gemstones , and their sparkle and colors. Eventually,  I found myself absolutely enthralled by the unique beauty only found in natural stones, with their color variations, spider-webbing, swirling patterns, and diversity. But I must say, since I have started creating jewelry , I have gone from "DRAB " to elegant sparkly gemstone jewelry.

for example....

"Midnight Shadow"


This is an ultimate favorite of mine. It took me forever to find this 110 carat pendant, which was a great find. I searched for the smoky quartz rondelles as well as the briolettes, sterling silver spacer beads and Hill Tribe silver.  After that, thoughts just started rushing through my head like crazy. The handmade necklace has to be an amazing 300 carats of gorgeous sparkly smoky quartz! You can find it in  my Ultra Luxe Collection.

"Bouquet"


 I am in LOVE with pink. These are breathtaking and, of course,  PINK! They are perfect for a formal or upcoming wedding. They feature AAA trillion cut pink topaz, (total 41 carat weight), with accenting wire wrapped 4mm pink tourmaline rondelles, and an accenting corrugated sterling silver bead. They dangle from cubic zirconium ear wires and measure 2 inches in length. They also come from my Ultra Luxe Collection .

Not only do I have a love for "sparkle and bling" I also like working with lampwork, Swarovski crystals, precious and semi precious gemstones.

such as this...

"Sleeping Beauty Necklace"


These chunky Sleeping beauty turquoise come from the Sleeping Beauty Mine with the distinctive pale blue color which made the mine famous.  The irregularities of the turquoise really enhance the beauty of the stone. The necklace is also accented with big bold chunky coral; and I chose red jasper for the beautiful swirl patterns in the stone. The remainder of the necklace is comprised of sterling silver spacer beads and Bali bead caps. The necklace measures 17.5 inches in length and could be found in my Luxe Collection.

I only use  Sterling Silver and 14kt gold-filled materials in my creations, unless otherwise noted. I carefully select all of the gemstone beads strand by strand with interesting colors, shapes and textures. Creativity must be inspired! I tend to get bored easily with too many stones of the same color shape and size, so I rarely buy items in bulk. This means that most often each creation is a one-of-a-kind piece or matched set.


Thank you for reading,
Lucia
Crystal Impressions

Wednesday, July 6, 2011

Jet of the Day: cooljewelrydesign


I know somewhere in my profile I state that my style is random chaos, but let me explain better.

When you come right down to it, there is nothing random about my design process because it is very painstakingly thought out. My objective is to create something that will never ever be created again—yes, one of a kind. I have a slightly offbeat, bohemian edge to many of my pieces because, OK, it reflects my personality and more…I truly want the customer to feel special and different knowing that Pam’s Holy Grail of design has been employed :)


Take this piece…La Mer


I hoarded most of these pieces at least two years ago—stashed them in a ‘project’ bag until the circle was complete. Starting out with the shell pieces (flower focal Mother of pearl, and the other shell ) , I added the gorgeous faceted black onyx. Why not ALL the same color? Because that would be boring (for me, and for you). The Murano glass beads have that silvery blue appeal and completed my ingredients; along with some Hill Tribe silver and Swarovski Caribbean blue crystal. The box clasp was a real find among my findings—a store within a home. It is by design that I often use mixed metals—here we have shiny sterling silver and gunmetal . It belongs. Or that is how “this” person sees it.


My current mission is to s-l-o-w-l-y transition jewelry from cooljewelryJR over to my main shop—we all want to be one huge eccentric family. This is a great time to address materials choices—whether they be gemstones of high quality, pearls, shell, polymer clay, vintage Lucite, sterling silver, copper, lovely glass from the Czech Republic, etc. Anyone who makes and designs jewelry has an initial love for it, and safe to say we can respect the design process no matter what the “ingredients.” We all have different budgets—sometimes we veer off a bit or have a need to pull back—we’re human. Hands down, I want to appeal to everyone with a love for color and texture.

This bracelet, Alex, is a great example of how style and design need not be compromised by using less costly ingredients—copper, polymer clay, Greek Mykonos beads.


These earrings, Claudette, are so grandly colorful incorporating lampwork beads among sterling silver, crystal, and cubic zirconia—they remind me of Monet’s garden:


You will often see me use lampwork in my designs. I am so in love with it and have such a healthy respect for glass artists who work with thin reed-like strips of colored glass, use a torch to slowly form the beads into amazing little works of art. And then I hunt them down like dogs… :) and purchase them for inclusion as AN ingredient in *many * of my pieces. So the buyer is really getting the benefit of two designers in one purchase. Those beads, whether they are focal or not, are costly because they are ALSO typically one of a kind, or you may be able to beg an artist to make another set for you.

So that’s my story and I’m sticking to it. I know I don’t appeal to the masses, and I wouldn’t have it any other way. My shop is a work in progress!!

Thank you for reading,
Pam

Tuesday, July 5, 2011

Ring Tutorial by Brooke Scarborough Jewelry Designs


I recently had a request from a friend for a custom ring. She liked a ring I had in my Etsy shop, Brooke  Jewelry, but wanted it in a different size. I thought it might be fun to show you how I made the ring step by step. I had the friend select a cabochon, a shaped and polished stone, and let me know the size that she would like her ring to be and then I got to work making it. (These steps have been somewhat simplified and are best suited to someone with some beginning metalsmith skills but if you have any questions please ask.)

I had roller printed a floral texture on a silver sheet previously and had that on hand. I drew the shape of the back plate of the ring onto the silver sheet with a fine Sharpie. Drawing a pattern on paper and using double stick tape to keep the pattern on the sheet works well for this too, then you don't smudge your lines while you are sawing. Back plates can range in thickness from 21 gauge to 18 gauge depending on the size of your project. The bigger the project, the thicker your back plate should be. The sheet I was using was predetermined by the thickness I had on hand, approximately 18 gauge.  


*A note about the order of this step: you can also saw out the back plate after you have soldered the bezel wire onto it and some people prefer that order because you don't have to worry if the bezel shifts in the process of soldering.


The next step is to clean up the sawn edges of the back plate with a file and then a silicone polishing wheel. An abrasive knife edge wheel is ideal to get in all the little "v" shaped areas between the petals of the flower.


Now the ring needs a bezel to hold the cabochon in place so I cut a piece of fine silver bezel wire to an approximate size and annealed it. Annealing the silver softens it so it can wrapped around the stone to see what length is needed. I then cut it to size, filed the ends smooth without any gaps and soldered it together with hard solder.


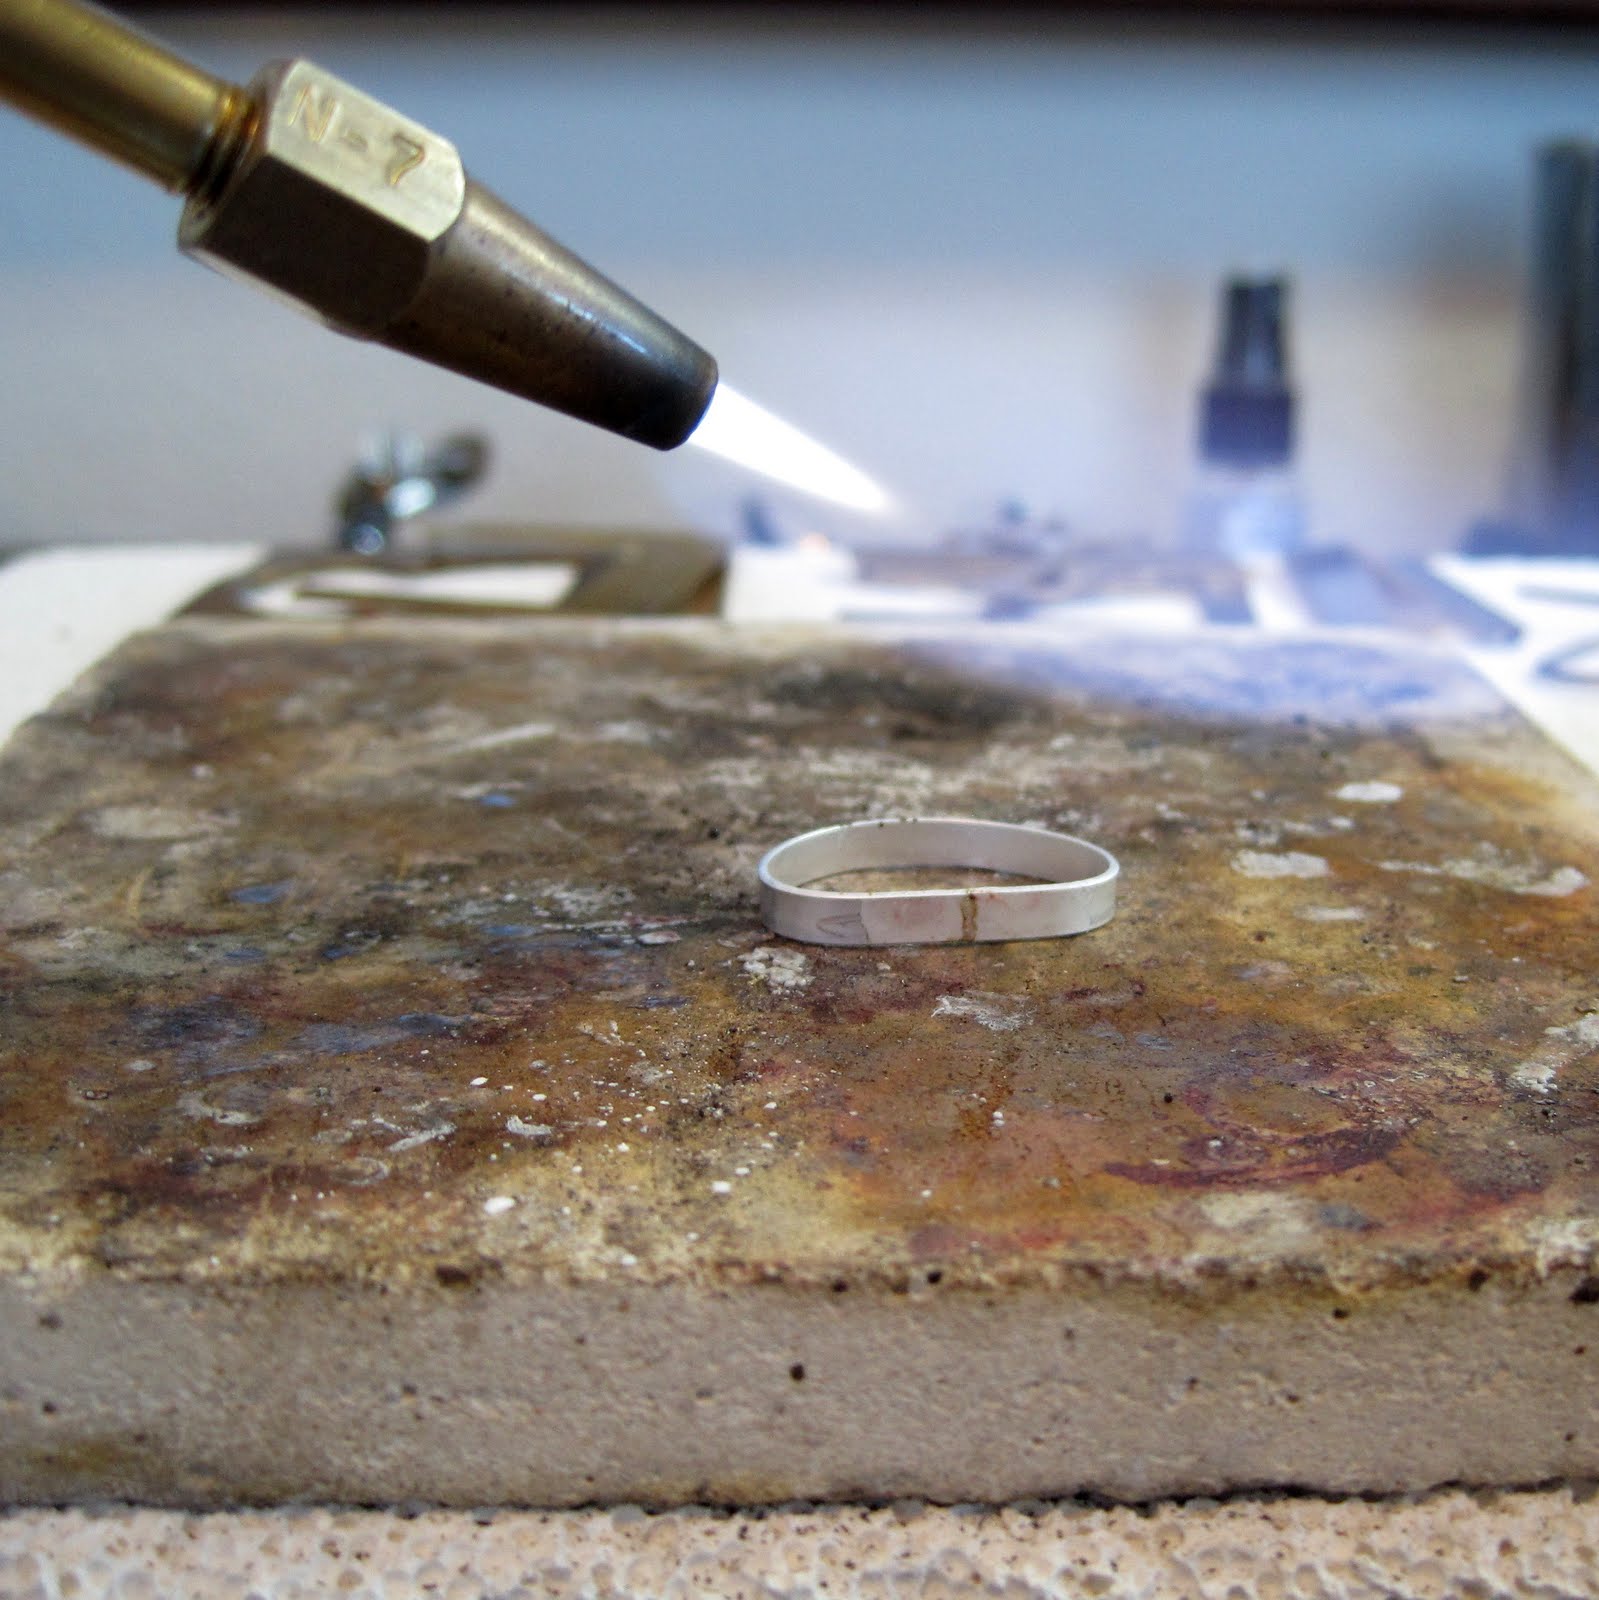
After soldering, the bezel goes into the pickle pot. Pickle is an acidic solution used for cleaning metal components while soldering.Because the stone being used was round I was able to use a ring mandrel to re-shape the bezel wire after soldering it. I then filed and sanded the solder joint to clean it up. At this point I soldered the bezel wire to the back plate with medium solder and put it in the pickle.


The next step was to saw out the ring shank from sterling sheet; the one I used was 18 gauge. I used a ring-length gauge to see how long to make the shank, then filed the ends, bent them together and soldered them together with hard solder. I reshaped the shank and cleaned up the edges with sand paper and abrasive wheels


The ring shank has to have a flat spot for a good fit to the back plate and the best place to do this is where there is already a solder joint, so I filed that area flat. Then I soldered the shank to the back plate with medium solder. This step is a hard one for me, getting all the solder to flow and not having the shank shift around can be a challenge. I think the soldering took three tries this time. 


The solder joint beside the shank can be cleaned up very carefully with a knife edge abrasive wheel if necessary. Then the fine silver coating from the pickle should be brushed off with a brass brush and the ring can be polished a bit with a polishing wheel. The bezel should also be cleaned up with a file and abrasive wheels before the stone is set. I used a bezel pusher to snug the bezel up to the stone and then polished off the marks with an abrasive wheel and a polishing wheel.

And now the ring is done!


 Thank you so much!

xo, Brooke

Saturday, July 2, 2011

JET Summer Anklet Challenge Winner

The lovely anklet designed and made by Lime in the Sky is the winner of our JET Summer Anklet Challenge! Check back for the full story and more about our winner.


Thank you everyone, for your participation in our friendly competition. We will be listing the winners on this blog and contacting the winners  whose emails we have, by July 8th.