
I recently had a request from a friend for a custom ring. She liked a ring I had in my Etsy shop, Brooke Jewelry, but wanted it in a different size. I thought it might be fun to show you how I made the ring step by step. I had the friend select a cabochon, a shaped and polished stone, and let me know the size that she would like her ring to be and then I got to work making it. (These steps have been somewhat simplified and are best suited to someone with some beginning metalsmith skills but if you have any questions please ask.)
I had roller printed a floral texture on a silver sheet previously and had that on hand. I drew the shape of the back plate of the ring onto the silver sheet with a fine Sharpie. Drawing a pattern on paper and using double stick tape to keep the pattern on the sheet works well for this too, then you don't smudge your lines while you are sawing. Back plates can range in thickness from 21 gauge to 18 gauge depending on the size of your project. The bigger the project, the thicker your back plate should be. The sheet I was using was predetermined by the thickness I had on hand, approximately 18 gauge.

*A note about the order of this step: you can also saw out the back plate after you have soldered the bezel wire onto it and some people prefer that order because you don't have to worry if the bezel shifts in the process of soldering.

The next step is to clean up the sawn edges of the back plate with a file and then a silicone polishing wheel. An abrasive knife edge wheel is ideal to get in all the little "v" shaped areas between the petals of the flower.

Now the ring needs a bezel to hold the cabochon in place so I cut a piece of fine silver bezel wire to an approximate size and annealed it. Annealing the silver softens it so it can wrapped around the stone to see what length is needed. I then cut it to size, filed the ends smooth without any gaps and soldered it together with hard solder.


After soldering, the bezel goes into the pickle pot. Pickle is an acidic solution used for cleaning metal components while soldering.Because the stone being used was round I was able to use a ring mandrel to re-shape the bezel wire after soldering it. I then filed and sanded the solder joint to clean it up. At this point I soldered the bezel wire to the back plate with medium solder and put it in the pickle.

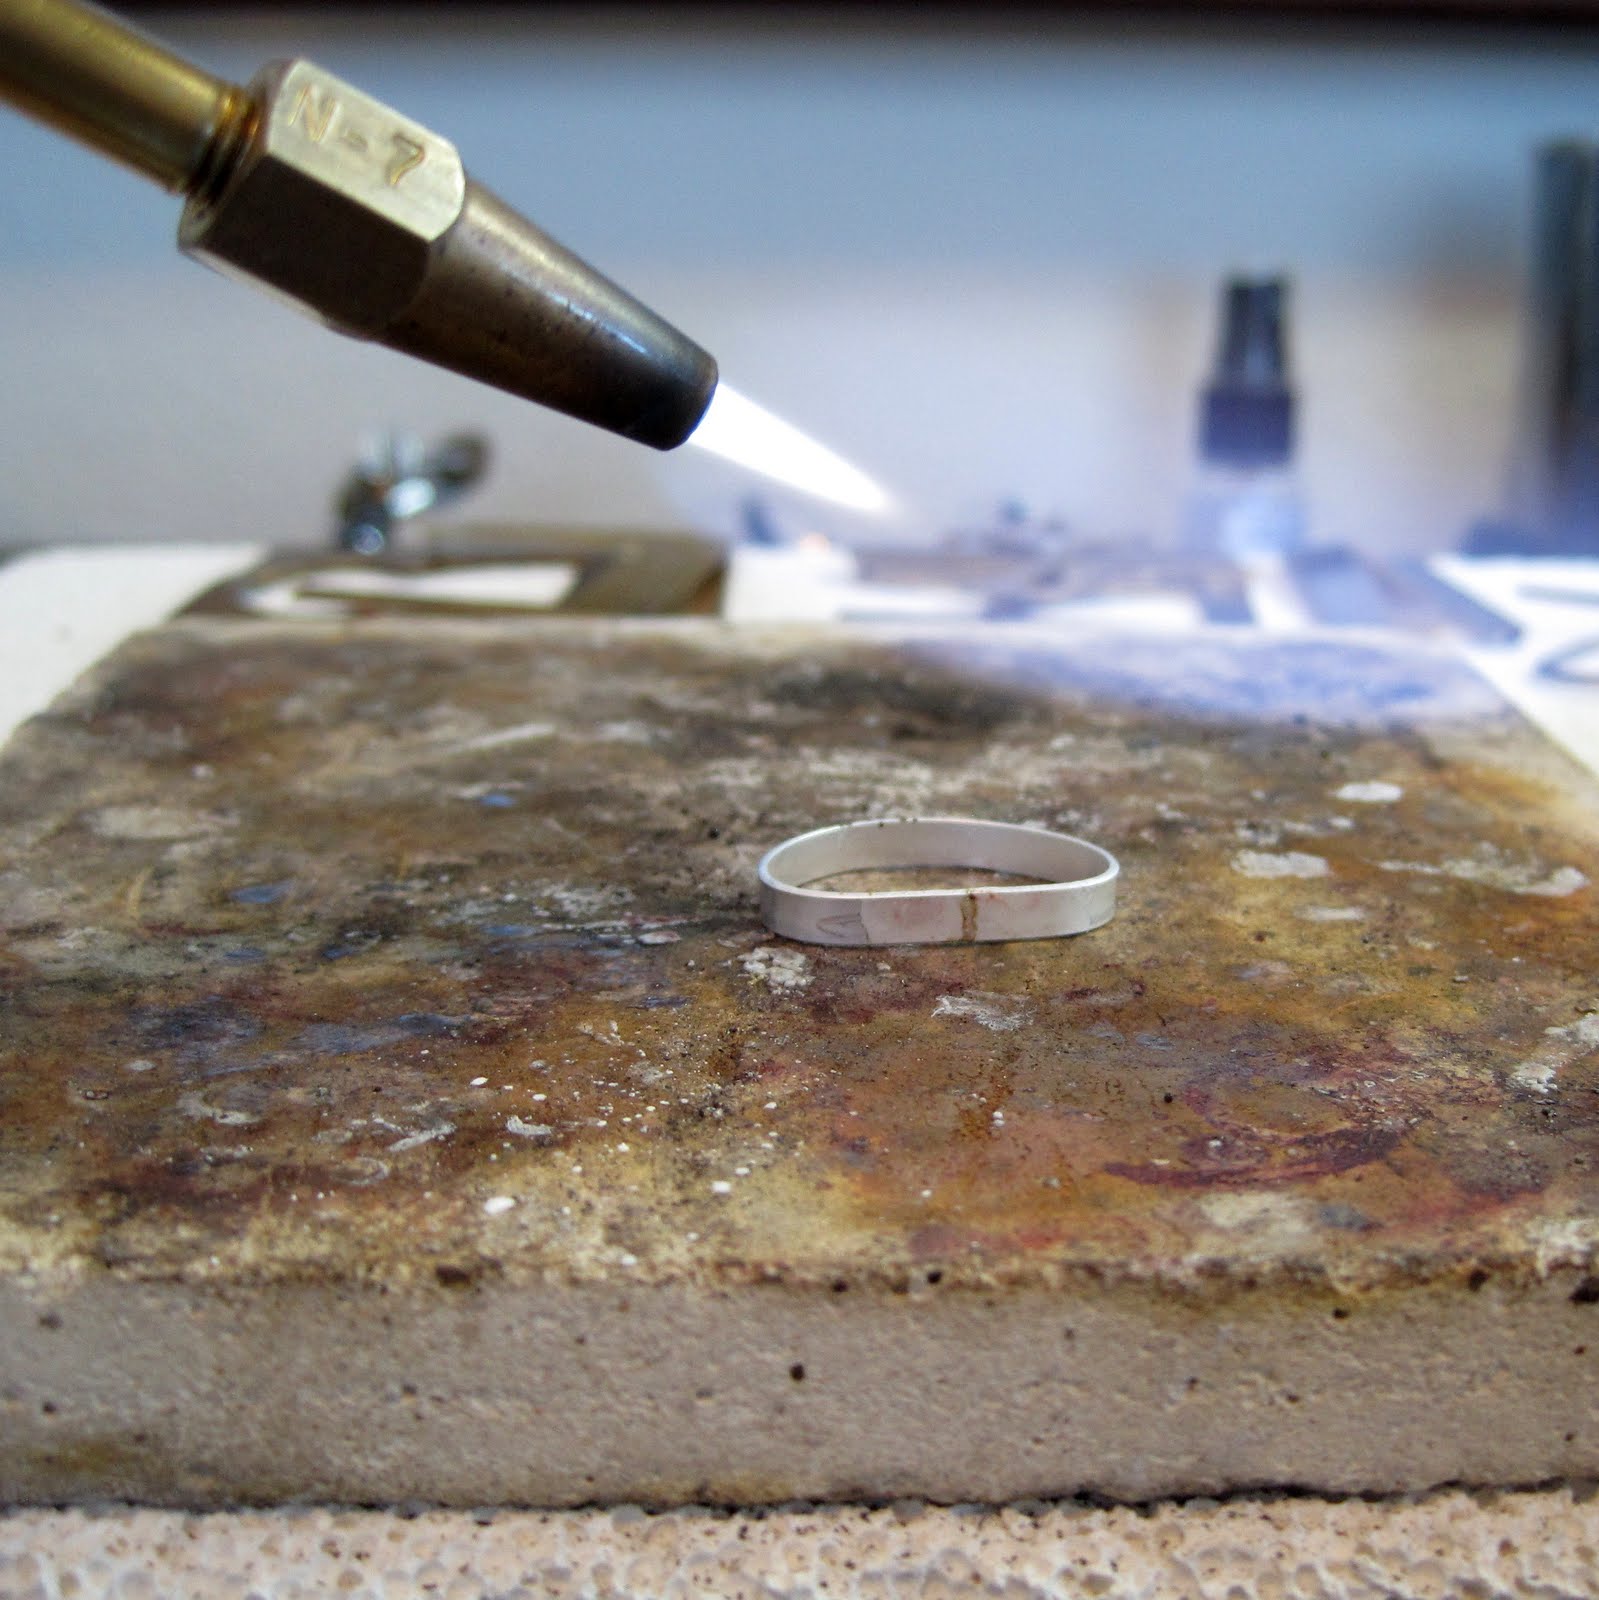
The next step was to saw out the ring shank from sterling sheet; the one I used was 18 gauge. I used a ring-length gauge to see how long to make the shank, then filed the ends, bent them together and soldered them together with hard solder. I reshaped the shank and cleaned up the edges with sand paper and abrasive wheels


The ring shank has to have a flat spot for a good fit to the back plate and the best place to do this is where there is already a solder joint, so I filed that area flat. Then I soldered the shank to the back plate with medium solder. This step is a hard one for me, getting all the solder to flow and not having the shank shift around can be a challenge. I think the soldering took three tries this time.


The solder joint beside the shank can be cleaned up very carefully with a knife edge abrasive wheel if necessary. Then the fine silver coating from the pickle should be brushed off with a brass brush and the ring can be polished a bit with a polishing wheel. The bezel should also be cleaned up with a file and abrasive wheels before the stone is set. I used a bezel pusher to snug the bezel up to the stone and then polished off the marks with an abrasive wheel and a polishing wheel.

And now the ring is done!


Thank you so much!
xo, Brooke
Brooke, thank you for this fabulous tutorial! That ring is gorgeous, and I've relished this peek into your workshop too.
ReplyDeleteGorgeous work, Brooke! You too. . . ;)
ReplyDeleteoh my, this is just gorgeous. As so fun to see the steps to make a ring. Great write up!
ReplyDeleteThis is a great step by step...thank you for sharing it! You do beautiful work!
ReplyDeleteThis is a great tutorial. The ring is beautiful.
ReplyDeleteexcellent tutorial!!!! Pretty pretty ring!
ReplyDeleteBrooke what a great tutorial, lovely ring!! Thanks!!
ReplyDeleteBrooke - Awesome tutorial! Thanks for sharing. Your Jewelry shop is Fantastic too!
ReplyDeleteGreat tutorial!
ReplyDeleteAwesome tutorial Brooke.......thanks for sharing.....
ReplyDeleteThanks everybody, it was really fun setting this up and sharing my jewelry with you!
ReplyDeleteThis is such a well done step by step. Thank you for generously sharing your knowledge and talent with us. It is great for a novice like me to see an expert at work. Plus, you look beautiful!
ReplyDelete:)
Fantastic tutorial, thank you so much Brooke for sharing your amazing skills! Very impressed by how tidy your bench is - but how on earth do you keep your hands and nails looking so glamorous?! Erika Price Jewelry
ReplyDeleteAwesome Brooke. Did this at silversmithing but really have no patience for it. Great work.
ReplyDeleteGREAT tut, Brooke! Love the ring!
ReplyDeleteThis is so awesome! Thank you Brooke!
ReplyDeleteFabulous tutorial Brooke! I loved seeing your process making that beautiful ring.
ReplyDeleteThis comment has been removed by the author.
ReplyDeleteWow, love to watch the method of how you made my ring. I can really appreciate the process and outcome even more now. The ring turned out perfect and very pretty. Can't wait to wear it. Love your jewelry.
ReplyDeleteBrooke, this ring is so gorgeous! I loved watching the process. Thanks so much for sharing your work with us! And you look MAHvolous DAHling!
ReplyDeleteGreat tutorial and beautiful ring.
ReplyDeleteThe post is written in very a good manner and it entails many useful information for me. I am happy to find your distinguished way of writing the post. Now you make it easy for me to understand and implement the concept. Thank you for the post.
ReplyDeleteI love this custom made jewelry! It was fun seeing how you came up with this.
ReplyDelete